
My tall fabric sculptures

“You can’t use up creativity. The more you use, the more you have.”
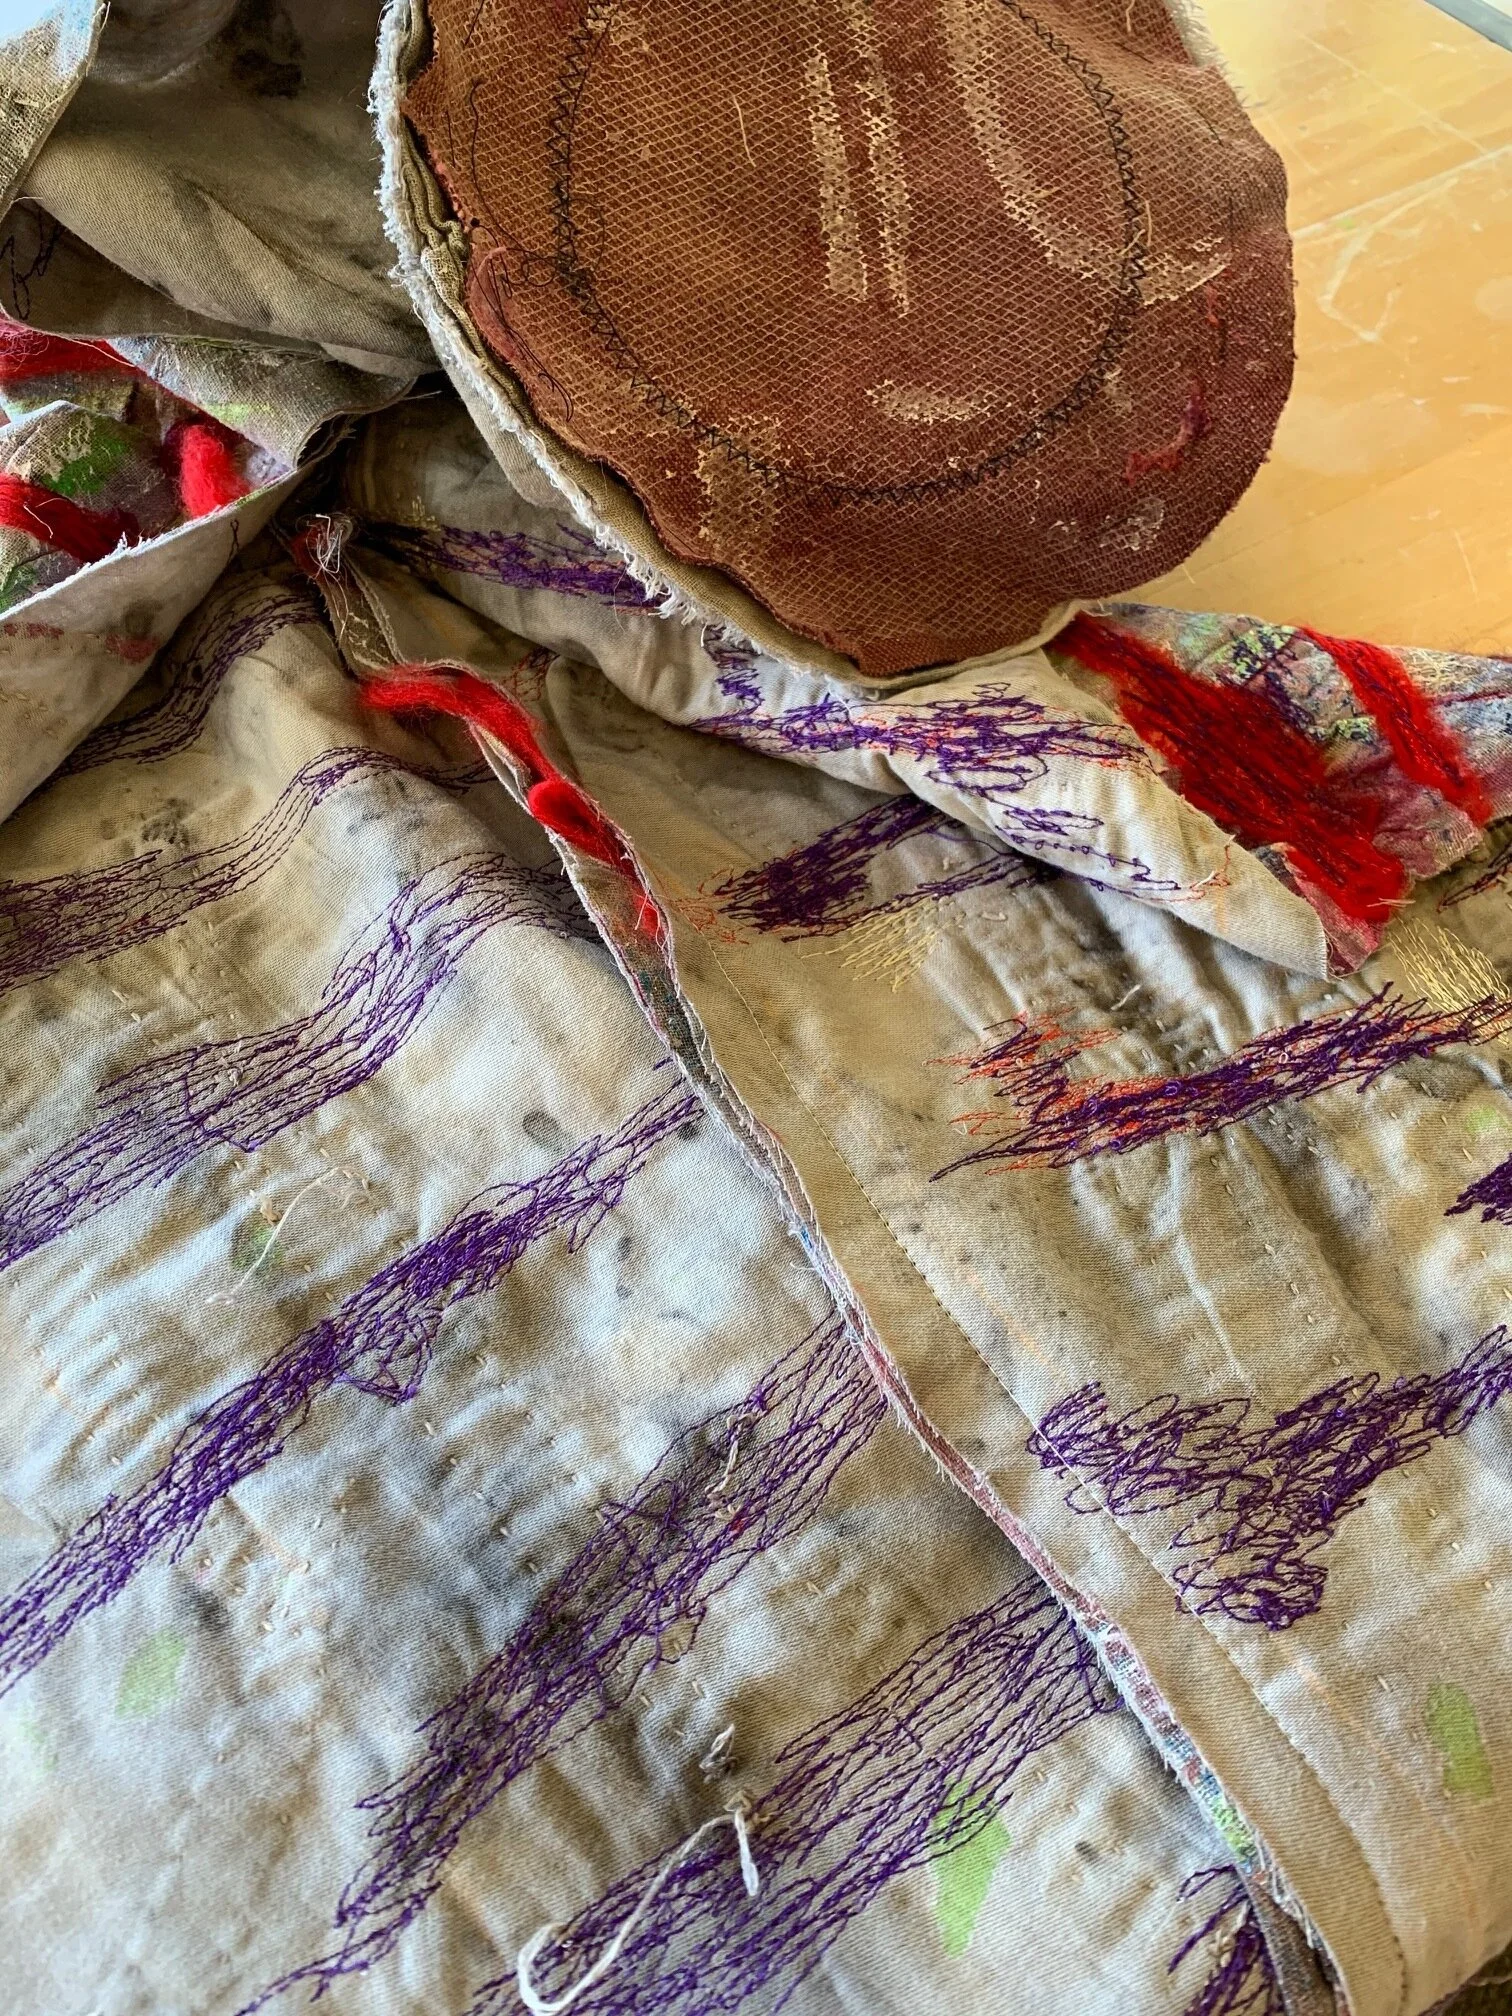
I had been making appliqued fabric pictures incorporating machine and hand stitching and I started experimenting with various sewing and quilting techniques, sometimes adding stones, wood, shells and thickly stuffed shapes.
It was when I exhibited the wall hung pieces that I realized, in order to keep the pieces clean and not readily removed from the wall by the public in non-invigilated exhibitions, they needed to be framed behind glass and secured to the wall. Some of the pieces I produced however were so thickly textured; so, three dimensional, that the framing was quite expensive, and in some cases impractical.
I eventually came up with the idea of trying to make the pictures stand on their own.


I experimented with various techniques
The first sculptures I made were a little like thin 3-dimensional paintings, using chicken wire with a wire fed through the open weaves with quilt batting protecting the wire. Then with the fabric design stretched over the chicken wire form. They were able to stand by drilling a hole through a found large stone and gluing the wire within.
My second idea was to put the stone within the fabric and add polyester fibrefill through a small opening in the sculpture, using hand stitching to close the opening. This worked but the stones did not always have a flat base which allowed the sculptures to wobble. It also limited the shapes of the sculptures because of the imbalance of the stones. This got a little tedious and I realized I had to come up with another idea.
My third method incorporated sand, which I washed and then oven dried, as quite a lot of commercially produced doorstops use sand for weight. I double bagged the sand into freezer bags for security. However, no matter how dry the sand was I always felt that for some of my sculptures, the sand would somehow become damp and bleed through the double plastic bags and ruin the sculpture.
Finally, I experimented with stainless steel ball bearings which were expensive, and this led me to the idea of using grit. The grit went through many rinses outside with my garden hose and a large sieve, then dried in the bottom part of my oven for many days. I moved the dried grit into sealed containers and used it when needed. I made little sacks to hold the grit in proportion to the sculpture I was making. Finally, I was able to make larger sculptures of any shape as long as the base holding the grit within was wide enough to keep the sculpture balanced.
“A good idea becomes a great idea when you let it out”
My sculptures were becoming taller which required larger bases for balance. I didn't necessarily want large wide bases, so I approached a wood turner to make me two deep wooden bases with a broom handle glued into the centre. I attached quilt batting to the wooden base and handle, and proceeded to construct the sculpture, adding polyester fibrefill for shape and form.
When I could no longer find a wood turner to help me, I discussed using concrete bases with a colleague and we made one together that worked really well.
This method is now the method I use for my tall sculptures. The difference with using a pole inside a strong base means that the sculpture does not have to use large amounts of stuffing to keep it from collapsing, which is liberating for the creative process and I think leads to a better outcome.
The less I need to compromise my vision, the greater the remaining integrity in the finished piece.
I’m sure these experiments will continue to evolve as I reach new boundaries with the process, but, these moments are exciting as they allow for discovery of something new – something unexpected.